Tools:Modeller:Tutorial
After reading about the purpose of modeller, it might be a good idea to get your hands dirty and build a model of your own, to get used to the basic operation of the program.
The Model
For demonstration purposes, we'll be creating the model for a simple ground tile, such as can be found in the test directory of the Adonthell Engine: test/data/gfx/map/ground/outside/grass/short-grass-tile.xml. Generally, all sprites will reside under the gfx directory.
Creating the Model
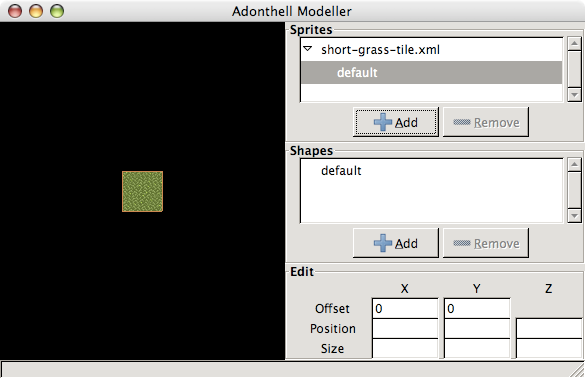
Fire up modeller. You may have to use the -g option to point it to the data directory (i.e. adonthell/test/). After startup, modeller will be ready to create a new model. First of all, we have to chose a sprite by pressing the Add button on the upper right side. Browse to the directory above and select the short-grass-tile XML file. For simple sprites that do not come with XML meta data, directly select the PNG image instead.

You will now see that sprite with all its states in the sprite list. The first state gets automatically selected and appears in the shape list and preview area. We will have to define shapes for each state, but luckily our grass tile only has the default state.
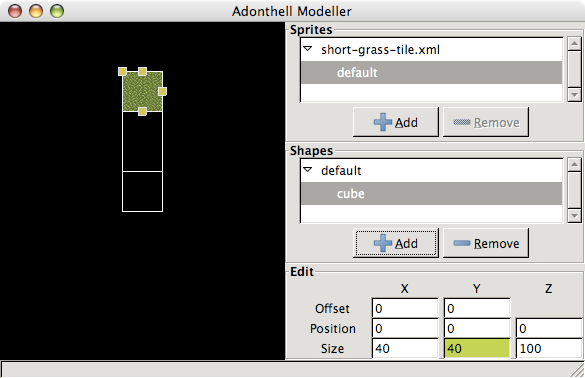
Now click on the Add button on the lower right to add a new shape to the selected state. A cube with a number of handles will appear. If you move the mouse over a handle, modeller will highlight one or more of the values in the lower right. This will tell you which of these values will change when dragging that handle.
To make the cube fit, we'll have to decrease its size in x and y direction, so do that by moving the selected handles until the cube outline matches that of the sprite. (An orange border shows the exact size of the sprite, in case parts of it are transparent.) You should now see something similar to the following.

Now we only need to update the z-axis. Note that we cannot have a shape that is entirely flat. Leaving it 5px high would be a good convention for ground tiles. And that's it. We do not have to change the position of the shape or the offset of the sprite. All that's left now is saving our model (File -> Save). Models should go into a model directory next to gfx.
The Result
The resulting model is now ready for consumption by the Map Editor. If you'd look at the file, you'd see that it is also a fairly simple XML description, with a well-defined format. You can also load this file again in modeller to make modifications or to examine manual changes you made. Now read on to learn more about the remaining features of modeller.